
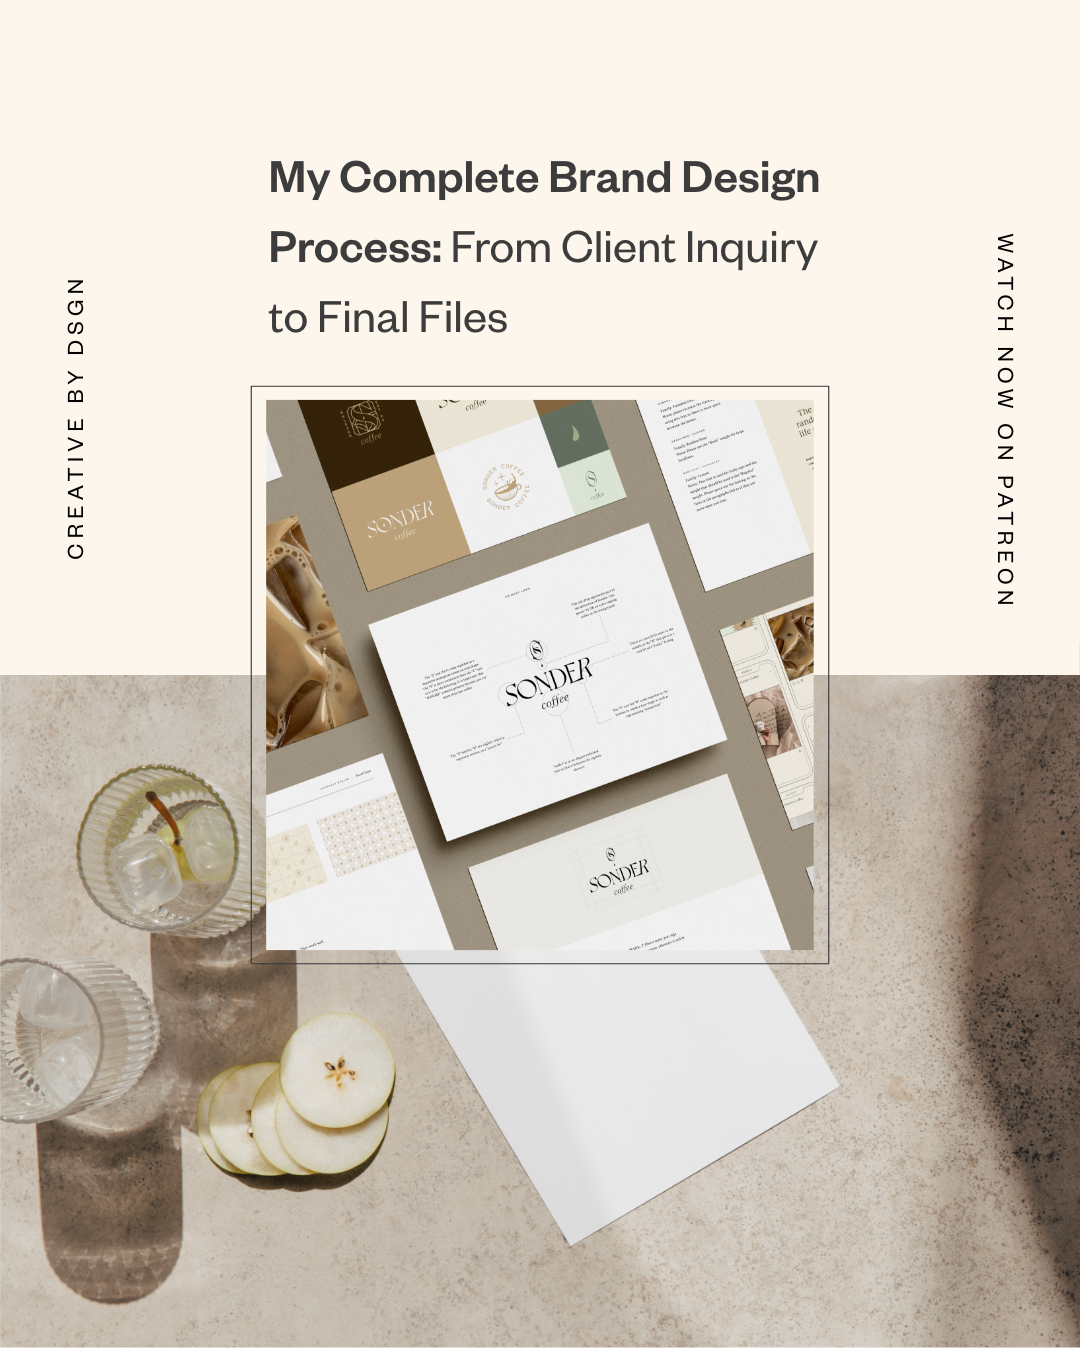
My Complete Brand Design Process: From Client Inquiry to Final Files
If you’ve ever finished a client project and thought, “Wait… what do I do next?” (even though you’ve done this 100 times)… you’re not alone.
Even as a professional brand designer, I’ve had moments where I’m like:
Do I start with the logo?
Do I start with packaging?
Do I start with the website?
Do I send the questionnaire first?
Do I send the contract first?!
And the truth is… when you don’t have a clear brand design process, every project starts to feel like reinventing the wheel. It gets messy fast.
So today I’m walking you through my complete brand design process — from the moment a client inquires to the moment I deliver final files. This is the exact step-by-step system I use inside EyeSavvy Design to keep my projects organized, smooth, and (most importantly) stress-free.
And yes — this works whether you’re doing brand design, package design, custom pattern creation, or even a full creative strategy rollout.
Let’s dive in. ✨
Why Having a Process Is Non-Negotiable (Even If You’re “Experienced”)
I know some designers think having a “process” sounds a little too structured… but trust me, it’s the thing that gives you freedom.
When you have a repeatable, plug-and-play system:
✅ your clients feel confident
✅ you stop second guessing yourself
✅ you know what’s next without thinking
✅ you can scale your business without chaos
Your process becomes your secret weapon, because it helps you lead your clients like the expert you are.
If you want to see how I structure my work and case studies, you can always view my portfolio for examples of how I present brand design and package design projects from start to finish.
Step 1: The Inquiry (Where the Client Finds You)
I personally get most of my clients through Upwork. It’s not perfect (their algorithm changes constantly), but it’s still a solid lead generator — especially if you’re positioned well.
Here’s what this stage usually looks like:
A client posts that they need a brand designer
I submit a proposal (short + confident)
If they like my work, they invite me to interview
I keep my proposal message simple and human, because the goal is not to write an essay — it’s to get them to the next step.
This is typically my vibe:
excited to help
quick credibility (experience + expertise)
invite them to a call
Because here’s the thing… most people don’t buy the service just from reading words. They buy confidence. They buy clarity. They buy connection.
Step 2: The Consultation Call (AKA The “Trust Builder”)
Once they’re interested, I send my Calendly link and we book a call.
And yes, the consultation call is so important — because this is where the client finally starts feeling like:
“Oh wow… she knows what she’s doing.”
Here’s the flow I follow every single time:
What I say at the start of the call:
“I’d love to learn more about your business first. I’ll take notes while you talk, and then I’ll walk you through my process + recommendations. Sound good?”
Then I ask questions like:
What are your goals for your brand design?
Who is your target customer?
Where will this brand show up? (web, packaging, social, retail, etc.)
What do you need first vs later?
This is part of the creative strategy process too, because your job isn’t just designing something pretty… it’s designing something that works.
Step 3: The Proposal (Where the Client Goes “Ohhhh Okay”)
After the call, I send a full proposal — and yes, mine is detailed on purpose.
I want my clients to feel like:
✅ I’m organized
✅ I’ve thought everything through
✅ I know how to lead them
✅ I’m worth the investment
Inside my proposals, I include:
a quick overview of my design philosophy
why a strong brand matters
case studies / examples
recommended packages
what happens next
If you want to see my current brand offerings, you can also browse my services here — it’ll give you a feel for how I position everything from brand identity to package design.
Step 4: Contract + Invoice (Locking It In)
Once they decide to move forward, I send everything through 17Hats:
quote + deliverables
contract
invoice for deposit
Once they pay the deposit and sign, they are officially booked.
This is where things start feeling real for them — and structured for you.
Step 5: Client Onboarding + Notion Dashboard Setup
Okay… this part is one of my favorites. 😭
I recently started creating full client dashboards in Notion, and I truly feel like it upgraded my entire business.
Because instead of sending clients 50 scattered links through email, they get ONE hub that includes:
project schedule
all presentations
meeting links
invoice links
FAQ
client chat space
file uploads
It’s like a digital home for the project.
Notion also helps you organize your work in phases, which is perfect for designers who need clear structure without feeling boxed in.
Step 6: Discovery + Brand Strategy & Creative Direction
Now we’re getting into the real fun.
This is the stage where everything becomes intentional.
This is where we define:
brand personality
target audience
competitor differentiation
creative direction
overall vibe / visual energy
For me, this stage usually includes mood boards + strategy slides.
Because mood boards are not just “pretty pictures.”
They’re a visual roadmap — and this part of the creative strategy is what makes later stages so much smoother.
Step 7: Logo Concepts (Round 1 → Round 3)
After creative direction is approved, we move into logo concepts.
I typically do:
Round 1: present initial concepts
Round 2: revisions based on feedback
Round 3: final refinement + approval
This helps clients feel involved, but also keeps the project moving.
And yes — I always remind clients that revisions are part of the process. That doesn’t mean the first version failed. It means we’re shaping the final result together.
Step 8: Color Palette + Font Pairing (My Secret Weapon Phase)
Okay, this stage is huge — and I actually changed my process because of it.
I used to build the entire brand system and present it all at once…
But I realized clients were getting stuck on the color palette and it caused unnecessary rework.
So now I separate it:
✅ lock in typography
✅ lock in color palette
✅ THEN build the full system
This saves time, builds confidence, and makes the project feel more organized.
Also, color palette decisions matter WAY more than people think — especially in package design where color influences shelf impact immediately.
Step 9: Full Brand System + Brand Assets
Once typography and color are approved, I build the full brand system:
logo suite
submarks
icon system
patterns (yes, custom pattern creation!)
social media design direction
mockups
layout + spacing rules
This is where the brand starts to feel alive.
And this stage is honestly what separates “pretty design” from professional brand design.
Step 10: Brand Guide + Final File Delivery
Once everything is finalized, I create the brand guide and package up final files.
My clients receive:
organized file folders
multiple logo formats
color variations
high-res exports
brand guide PDF
This is where I use Logo Package Express (which is such a lifesaver if you’re a designer exporting a million file types).
And YES — the key detail here is that copyright transfers after final payment (and this should always be stated clearly in your contract).
Step 11: Post-Brand Support (The “Aftercare” Most Designers Skip)
This part is underrated but important.
After delivery, I include a post-brand doc that covers things like:
how to use files correctly
purchasing fonts
implementation tips
what to do next with your brand
Because creating a brand is one thing…
But launching it properly is what makes the investment worth it.
If you’re interested in working together and want a system like this built into your project experience, you can partner with me here.
My Biggest Advice If You’re Still Building Your Process
If you’re newer to design, or you’re still trying to refine your workflow, here’s what I want you to remember:
Don’t try to invent the process from scratch.
Take inspiration from someone who already has a proven structure — and then make it your own.
The process I use was inspired by Abby from Wayfair Design Studio, and I’m forever grateful for that foundation. I learned the structure, then tweaked it to match my business, my clients, and my creative brain.
That’s how you grow.
Final Thoughts (And a Little Pep Talk)
If this episode showed you anything, I hope it’s this:
✨ having a process doesn’t limit your creativity
✨ it makes your creativity stronger
✨ it makes your clients trust you faster
✨ it makes your business run smoother
Brand design is already a lot.
Package design is already a lot.
The illustration process (especially custom patterns) is already a lot.
So if we can make the system easier? That’s a win.
Let’s Chat 👇
I’d love to hear from you:
What’s the hardest part of your design process right now?
Is it client onboarding? pricing? revisions? staying organized?
Drop a comment and tell me what you’re struggling with — or what part of your workflow you want to improve next. I’m happy to answer questions, and I’d love to do more episodes breaking down the behind-the-scenes side of brand design and creative strategy.
Talk soon 💛


