
My Notion Client Dashboard & Web Design Process: A Full Walkthrough
If you’ve ever had a client email you mid-project asking…
“Hey, can you resend that first presentation?”
“Wait—where are the files again?”
“What’s next after this step?”
…and you’re sitting there scrolling through a chaotic email thread like 😵💫…
Then you’re going to LOVE what I’m about to show you.
Because today I’m taking you behind the scenes of something I’ve been working on for a few days now: moving my client scheduling system from Asana to Notion, and creating a fully customized client dashboard that keeps everything organized in one place.
And when I say everything… I mean:
project timeline
schedules + task phases
files and links
presentations
feedback rounds
invoices
meetings
FAQs
AND even a way for clients to mark tasks complete
Basically… it’s like giving your client their own little “project headquarters” instead of sending them 72 random links across 14 emails.
So if you’re a designer, creative business owner, or anyone who does client work (brand design, package design, illustration process work, creative strategy, all of it)… this setup will make your life sooo much easier.
Let’s get into it.
Why I Switched from Asana to Notion (and Why It Matters for Your Clients)
Okay first, let me explain why I’m doing this.
Asana is great. It’s clean. It’s user-friendly. It gets the job done.
But Notion? Notion is a whole different level because it’s fully customizable.
With Notion, I can build something that feels like it was made specifically for my process and my clients. And that’s important because when you’re running creative projects, it’s not just about staying organized — it’s about making the experience feel premium and effortless on the client side.
Instead of having separate links for everything like:
Google Drive for one thing
invoices somewhere else
scheduling in another place
files scattered across email
Notion lets me build one dashboard where clients can find everything in one place, every time.
And honestly? Clients LOVE that.
It makes your creative strategy feel intentional, your workflow feel high-end, and your project management feel like a real studio experience—not just a bunch of back-and-forth messages.
What My Notion Client Dashboard Includes (Quick Overview)
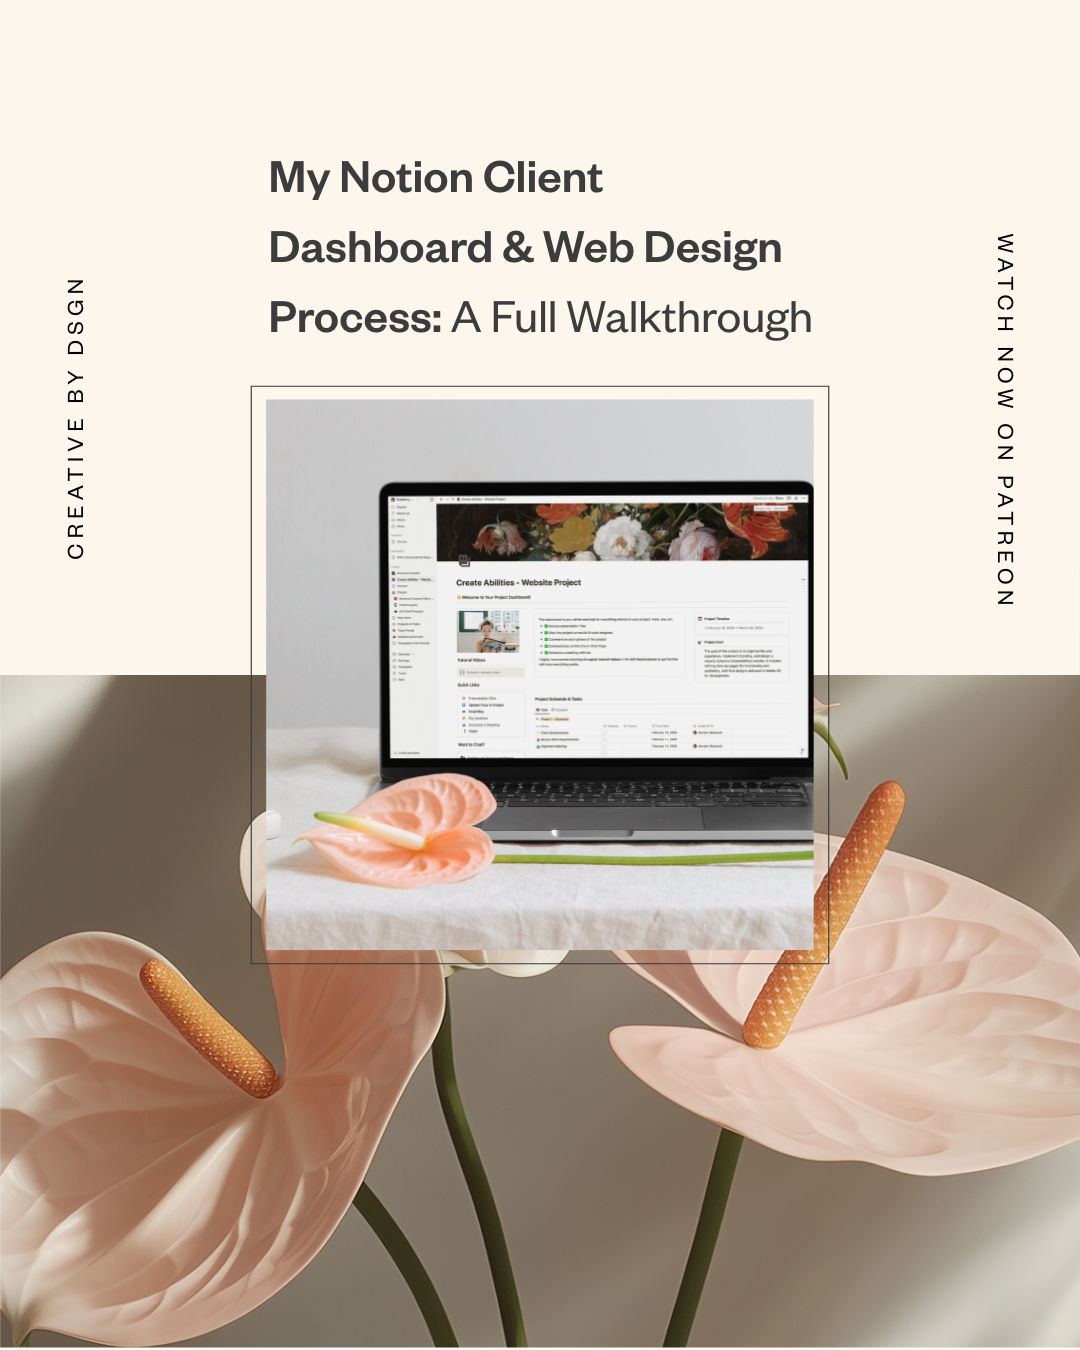
So here’s what the dashboard looks like from the top:
You have a clean welcoming header, a quick explanation of what the dashboard is for, and then I like to structure it like this:
Left side = quick links (like a website sidebar)
This is where clients can instantly find the important stuff without digging.
Right side = main content
This is where the “meat” of the dashboard lives — schedules, phases, instructions, etc.
And in my quick links section I included:
Presentation Files
Linked directly to a Google Drive folder where all presentations live.
Client Upload Folder
A place for them to upload their copy, images, and content when it’s time.
Final Files Folder
Where they’ll access final deliverables (like Adobe XD files, brand assets, etc.)
Pay Invoices
Linked to my CRM/invoicing platform (I use 17Hats).
Schedule a Meeting
Linked to Calendly so they can book without emailing back and forth.
FAQs
A full page with frequently asked questions so they don’t have to message me for every tiny thing.
This is the type of setup that works for almost any service-based designer—whether you’re doing brand design, package design, a full creative strategy buildout, or even productized services.
The Heart of It All: My Notion Project Schedule (Calendar + Table View)
Okay now this is the part I was most excited about:
The project schedule.
Because this is where most client experiences get messy.
Clients don’t always know:
what’s coming next
what’s waiting on them
what phase they’re in
how many rounds are left
where feedback goes
So I created a system that makes the process super easy to understand.
Step 1: Create a database (aka your task system)
In Notion, everything works off blocks.
So you type:
/ (backslash)
And then choose:
✅ Database → Inline
Then you choose a view — I started with Calendar View because I love seeing a timeline visually.
Step 2: Create a task template
This part is a game changer because you do NOT want to recreate the same structure for every task.
So instead of manually filling everything out each time, I created a reusable “Project Task Template” that includes the key properties I need:
My task properties are:
Phase (Select dropdown)
Example: Phase 1, Phase 2, Phase 3…
Assignee (Person)
Who the task belongs to (me or the client)
Complete (Checkbox)
So tasks can be marked done
Round (Select dropdown)
Round 1, Round 2, Round 3
This matches the way I actually run projects:
✅ I present
✅ Client gives feedback
✅ I revise + present again
✅ Client gives feedback
✅ Final approval
And this exact structure works beautifully for brand design projects where you’re presenting identity directions, concepts, revisions, etc.
It also works for package design rounds (concepts → revisions → final).
How I Organize the Schedule by Phases (So It Doesn’t Feel Confusing)
Once I entered my tasks, I realized something:
Calendar view is great, but sometimes you need the “big picture” organization.
So I switched to Table View and used one simple feature:
Group by Phase
In the database settings, you click:
Group → Phase
And instantly, everything gets sorted into clean sections like:
Phase 1
Phase 2
Phase 3
And within each phase, I can see the rhythm of the project.
This part is SO important for creative strategy and client confidence, because when clients feel like:
“Oh wow, she has a real system… I know what’s happening…”
They relax.
And relaxed clients = better projects. Period.
Pages Inside Pages: How I Add Instructions Inside Each Task
Here’s where Notion gets fun.
Every task can open into its own mini-page.
So instead of tasks being vague like:
“Client Questionnaire”
I can open that task and add:
instructions
links
embedded videos
feedback prompts
buttons (yes buttons!!)
For example, inside the Client Questionnaire task I wrote:
“Please review and answer the questions below. Once completed, mark this task complete.”
And then I added something extra that makes it feel SUPER premium:
✅ A button that marks the task complete for them.
The “Mark Complete” Button Feature (So Clients Don’t Forget)
Notion buttons are honestly underrated.
Here’s how you create one:
Type /
Select Button
Name it something like:
“Mark This Task Complete ✅”
Set the action to:
Edit Page → Change property “Complete” → Checked
Important detail:
When I did this at first, I accidentally applied it to the entire database (oops 😅)
So make sure the button action is set to THIS PAGE, not all pages.
This small detail makes your workflow feel smooth and client-friendly.
How I Use Emojis to Make the Dashboard Feel Easy (and Kind of Fun)
This might sound small, but it helps clients a LOT:
I add icons/emojis next to tasks to show who it’s for.
For example:
💻 = tasks for me
⚡️ = tasks for the client
✅ = approval steps
So at a glance, they know:
“Oh, this one is mine. I need to do this next.”
“This one is hers. I just wait.”
Simple, but powerful.
How This Makes Your Business Look More Premium (Even If You’re Solo)
This is the part people don’t talk about enough:
A clean client experience is part of your brand.
It’s part of your value.
It’s part of what makes you feel like an agency—even if you’re a one-person studio.
Whether you’re doing:
brand design
package design
illustration process work
creative strategy presentations
pattern creation
Pinterest marketing content planning
…your clients want to feel taken care of.
And a dashboard like this does that.
It communicates:
✅ I have a process
✅ I’m organized
✅ you’re not going to get lost
✅ you don’t have to chase me for information
And trust me… clients notice.
Sharing With Clients as Guests (Without Them Paying)
You might be wondering:
“How do I give this to clients without them needing a paid Notion account?”
Here’s what I learned:
You can invite them as guests by clicking:
Share → Invite → Enter email
They can access and comment.
And if you want to sell it as a template?
That’s when you make it public and have people duplicate it.
Final Tips If Notion Feels Overwhelming
If Notion feels intimidating, here’s what I’ll say:
Notion is a learning curve.
A real one.
But the best way to learn is to experiment. Build something messy. Fix it. Keep going.
And here are 3 ways to learn faster:
Use Notion templates (free ones inside Notion)
Watch YouTube tutorials
Ask ChatGPT when you get stuck (especially for formulas)
Yes — you can literally paste your formula into ChatGPT and it’ll help you troubleshoot.
Which is exactly what I do.
Final Thoughts: Your Client Experience Is Part of Your Creative Strategy
This whole dashboard isn’t just about being organized.
It’s part of my creative strategy as a designer and creative director.
Because being talented is only one part of the job.
The other part is delivering a client experience that feels seamless, confident, and premium.
And if your clients are happy and supported, your projects go smoother, your revisions feel easier, and your business grows faster.
So if you’re a designer who wants to level up your process, I highly recommend building something like this.
Even if it takes time at first.
It’s worth it.
Let’s Talk In the Comments
Okay your turn:
Have you ever tried using Notion for client projects—or are you still using something like Asana, Trello, ClickUp, or Google Docs chaos? 😅
Comment below and tell me what system you’re using right now, and what part of client organization drives you the most insane. I’ll reply and help you figure out a setup that actually makes sense.


